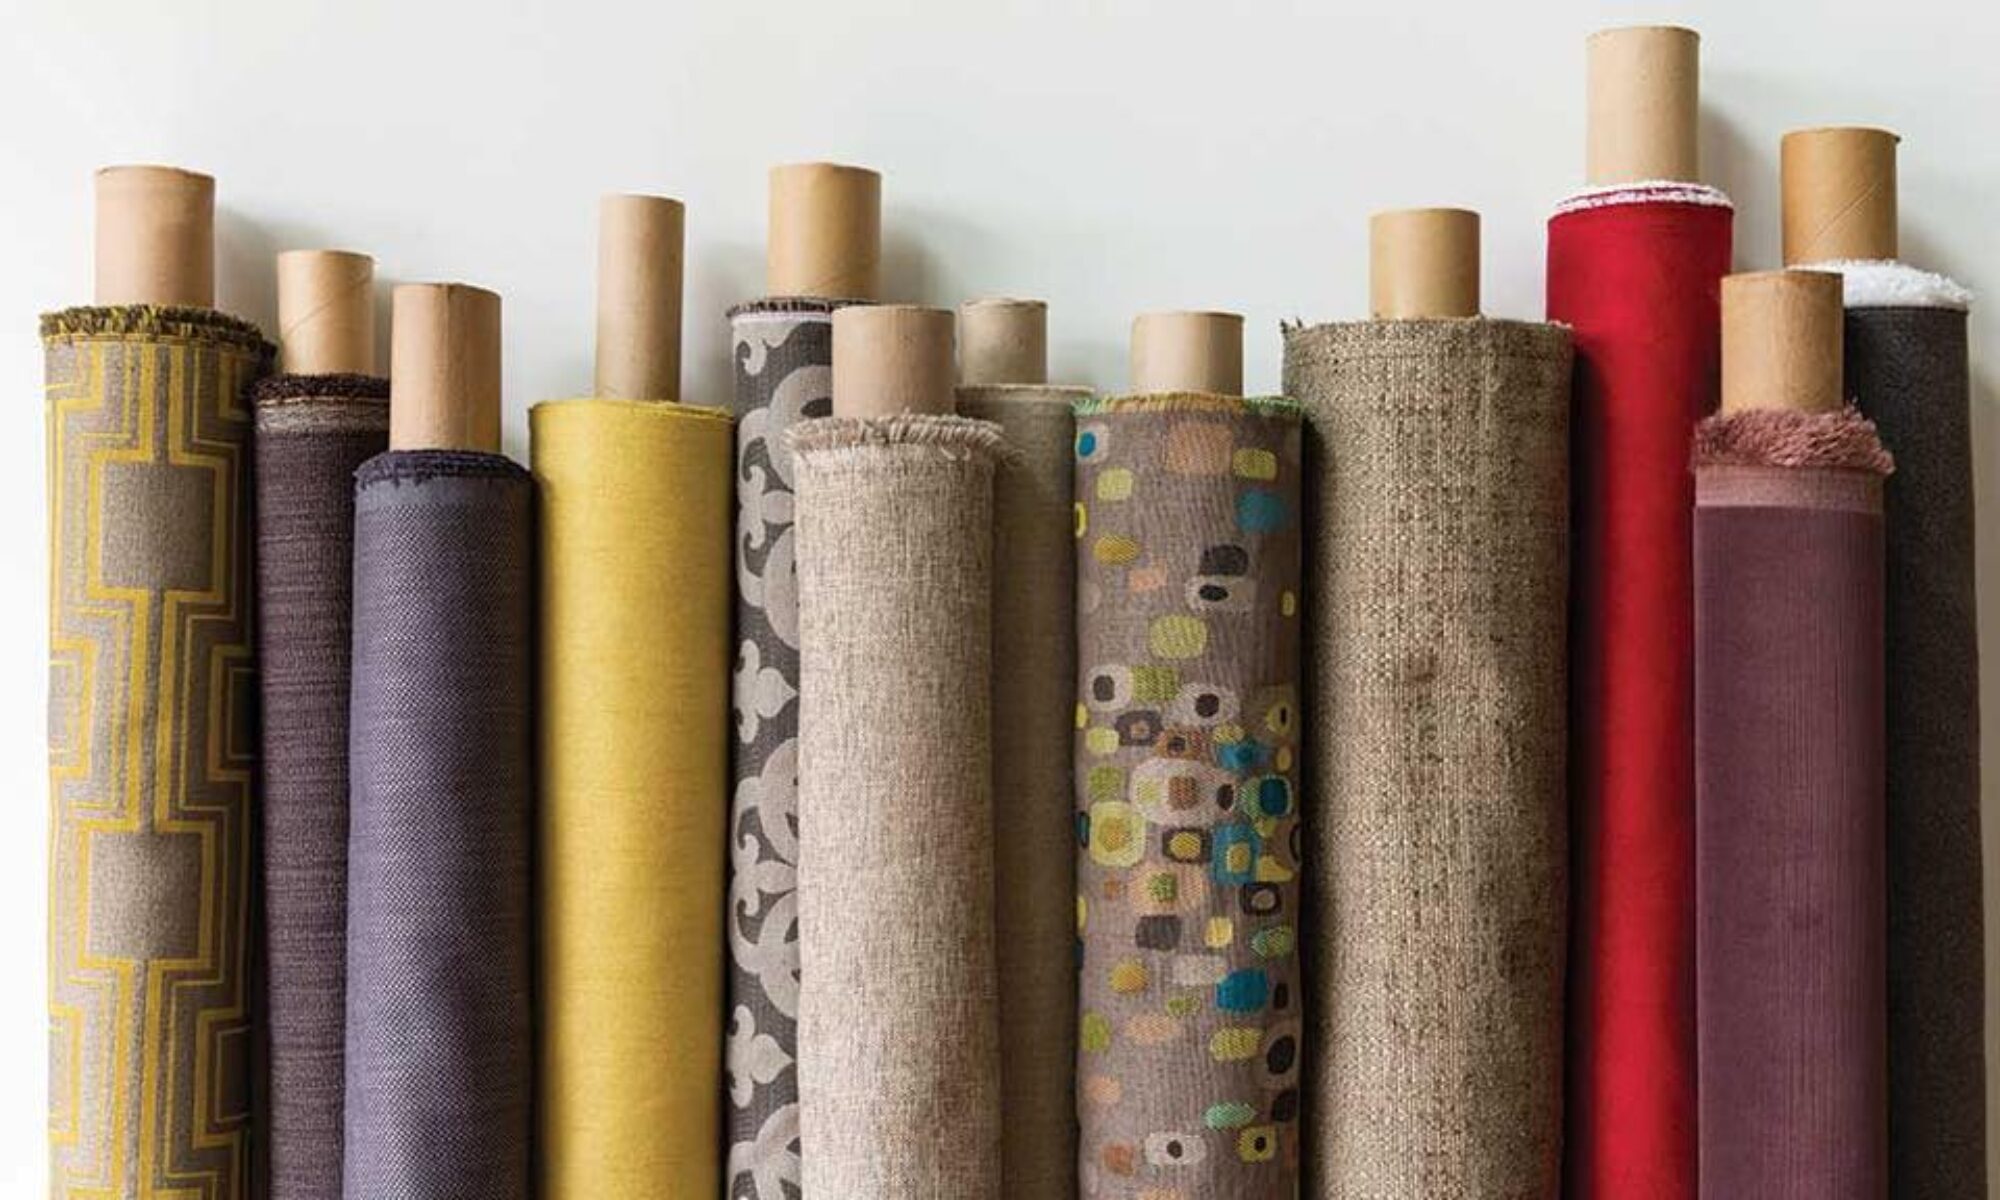
Want to try your hand at reupholstering? You don’t need a lot to start, nothing fancy at least, but you can certainly get some nicer tools if this isn’t a one-and-done deal. I’ll link all the necessary tools you’ll need in this post and the steps to help get you started.
What you’ll need:
| TOOLS | GOOD | BETTER | BEST |
|---|---|---|---|
| Staple Remover | CS OSBORN | CS OSBORN | BANTAM (requires air compressor) |
| Fabric Scissors | LIVINGO 8″ | Gingher 8″ | |
| Air Compressor (optional) | CRAFTSMAN 6 GAL | STEALTH 20 Gal | |
| Dacron/Batting | AK TRADING | SOFT & CRAFTY | |
| Foam | AK TRADING | AIRTEX | |
| Air Stapler (for air compressor) | SUREBONDER | FASCO | FASCO |
| Non Air Stapler | DRITZ | AECCN | |
| Flex Tape Measure | FEELOVE | PRYM DRITZ | UXCELL |
| White Chalk | CRAYOLA | PEPPERELL | |
| Pliers | NORTOOLS | CRAFTSMAN | |
| Acrylic Ruler | FISKARS | ||
| Cutting Mat | FISKARS 18″x24″ | FISKARS 24″x36″ | U.S. ART SUPPLY 36″x48″ |
| Pins | DRITZ | ||
| Hot Glue Gun | ADTECH | ADTECH | |
| Sewing Machine | SINGER | JANOME | CONSEW Ind. Machine |
| Fabric | JoAnn Fabrics are not made to not last on furniture. | <– If you know, you know. | Only the BEST |
| Dust Cloth | DRITZ | ||
| TOOLS | GOOD | BETTER | BEST |
FIRST (this is so important!)
Take photos of your project from every angle so when it’s all torn apart, you know what it’s supposed to look like when it goes back together.
NEXT
-Begin by taking out the staples and removing the fabric one section at a time.
*Save the old fabric as a template for cutting your new fabric – though it may not be exact if the old fabric is stretched out*
-With a Sharpie, on the inside of the old fabric, label where that fabric sat on the furniture with arrows and labels for up/down/left/right. The key is to make sure if you leave and come back later, you know exactly where you left off.
THEN
Measure your piece where you’re putting the fabric and add a couple inches that you can trim off after it’s stapled. Bring those measurements to your fabric and on the backside of your new fabric, use your chalk pencil & acrylic ruler to make your cut marks. Re-measure to be sure, and when you’re ready, take your fabric scissors and make your cut.
IF
If your project needs new foam, remove the old foam and cut your new piece to size. A nice layer of batting/dacron over the foam makes for a soft transition. If you have heavy duty adhesive spray, adhere your dacron to your foam so it doesn’t move around or bunch up over time.
ADD
Lay your fabric on your piece and staple starting in the middle of each section and working your way to the corners. Pull snug, but not tight as you don’t want to distort your fabric.
FINISH
Once your fabric is on nicely, take your dust cloth, measure, and cut it a little bigger than the space you need it to sit, and then fold the raw edges under and staple.
VOILA!
Here’s a great follow along book if you’re feeling overwhelmed…
The Beginner’s Guide to Upholstery
Or if you’d like a bigger challenge…
Professional Upholstering: All the Trade Secrets

